
This Path Texture Pack (PTP) contains 9 high quality textures at 2k resolution with full SRP support. This pack also contains pre-configured terrain layers and GeNa Road Profiles. These road profiles can be added straight to your scene using the GeNa splines.
Trailer:
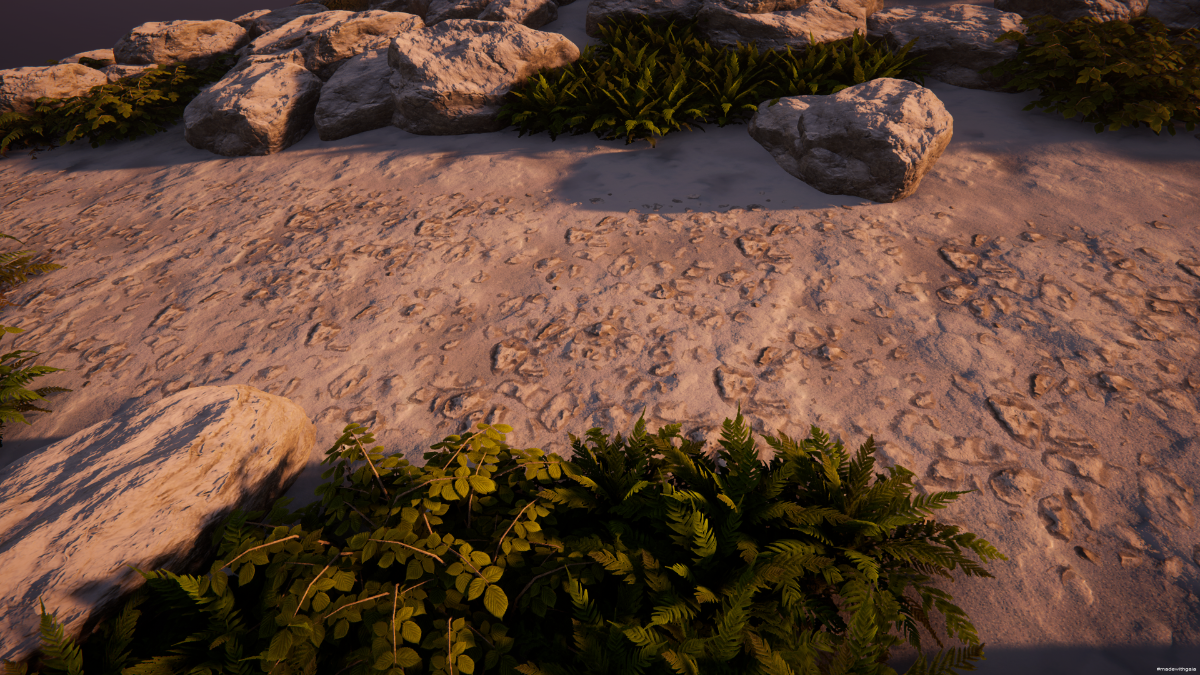
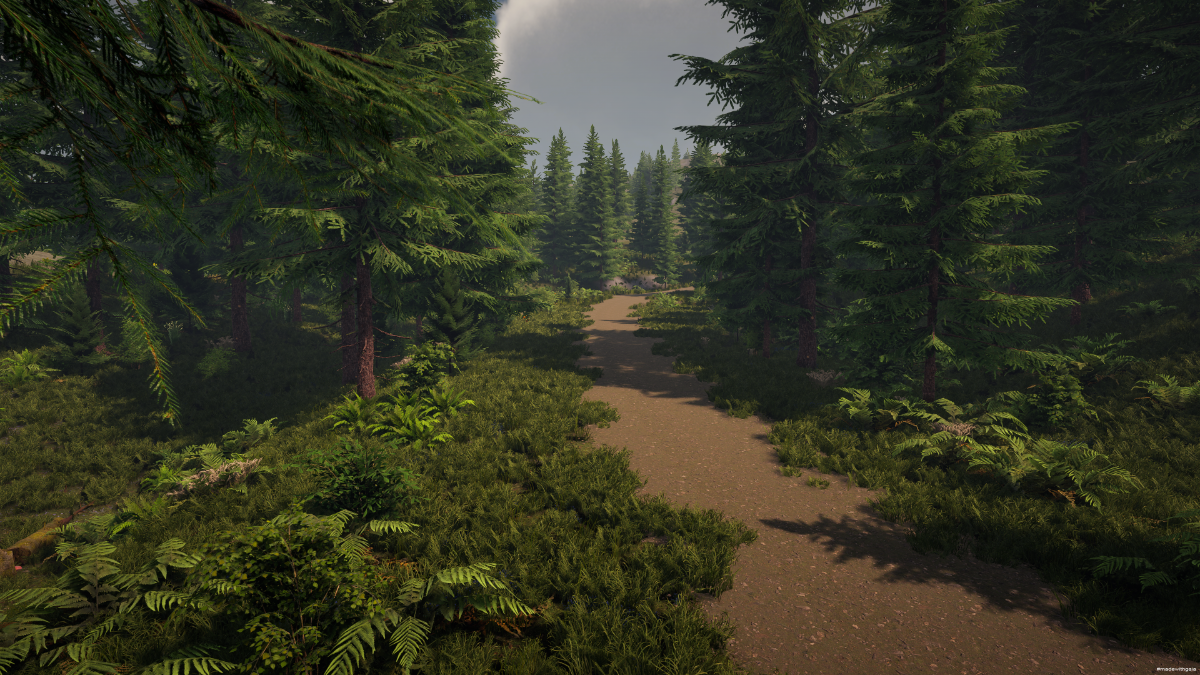
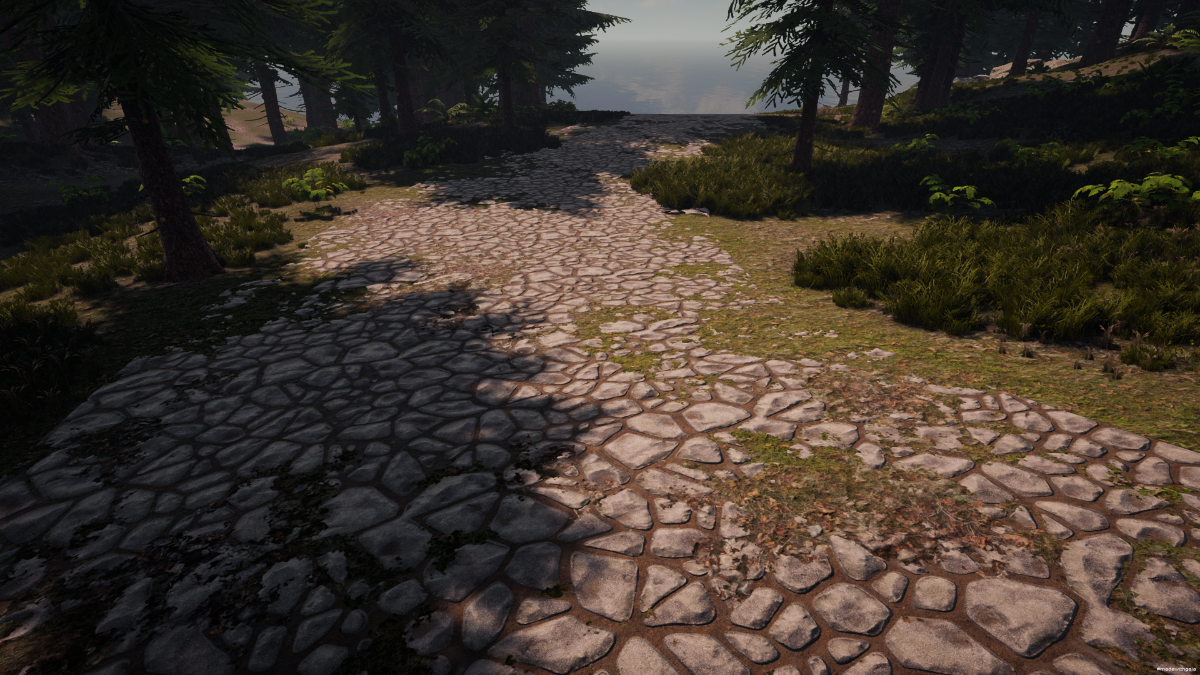
Screenshots
(click to enlarge)


How to use:
The Path Texture Pack 01 installs itself under Assets\Procedural Worlds\Content Packs\Path Texture Pack 01. You can use the texture files found in there as any other texture file in Unity. You can use the individual texture maps in the "Textures" folder, or you can use the terrain layers which are prepared for unity terrains in the "Terrain Layers" folder.
Beyond that, you can use the textures for the GeNa Pro Road generation system, or use them in texture spawners in Gaia. This allows you to build complete mesh-based or terrain-texture based paths with these tools . Please see the following chapters for instructions on these methods.
Using with the GeNa Pro road system
You can find ready-made GeNa road profiles in the "GeNa Road Profiles" folder .This pack comes with 3 different types of GeNa road profiles:

The Noise Profile is a one track profile but with noise added to break up the road/path patterns. The One Track is just a single track path or road and lastly the Two Track is 2 small lanes like railway tracks.
These road profiles can be plugged right into a GeNa road spline extension. Here is how you add one of these profiles to your scene:
Right click in the Hierarchy and go to GeNa/Add Road Spline, this will create a new road spline in your scene.
With the road spline selected use Ctrl + Left Click in the scene view to add spline nodes.
The spline comes with multiple extensions pre-equipped since we added a road spline to the scene. Dirst thing we are going to do is select our Carve extension to raise/lower the terrain so our road sits nicely on it. Once you have selected Carve click the Carve button at the bottom.
Note that you can see in a preview in the scene view how the terrain will be altered:
Now we are going to clear objects with colliders along the spline - this is used to clear the gameobjects that have collisions along our spline. Normally it is safe to assume you would not want these on top of a road / path that you built.
Select the "Clear Colliders" extension and click the "Clear Colliders" button. The scene view will show you a preview in which areas objec
Next we are going to clear all the terrain trees and grass details along our spline so we can see the road. Select the Clear Trees and Clear Details and click Clear Details/Trees at the bottom:

Now since we have a nice, clean road sitting on the terrain, we can assign the new road profile to change the appearance to use one of the path textures from the pack. Go to Assets/Procedural Worlds/Path Texture Pack 01/GeNa Road Profiles and assign a new profile in the Road extension on our spline.


Open the Profile Settings to edit the road profile and customize it to your liking. The question mark "help" button in the top right corner has more information on the individual settings for the road shader.
Note that changes made here are also applied to the master profile, it is recommended to create a copy of the profile and assign this before making changes so you don't override the source profile.
Now you are using the new GeNa Road Profiles on your spline, you can add these profiles to existing splines in your scene by just assign the profile to the road extension.
Tip: You can also texture the terrain underneath your path / road with the "Texture" extension on the spline - depending on the texture at hand that can make it more consistent / believeable or allows you to create interesting contrasts, especially if you use noise settings to let the terrain underneath shine through. Here is an example of the cobblestone "Alpine Pathway Noise profile WITHOUT underlying texturing:
And WITH a texture applied underneath that better matches the dirt seen between the single cobblestones:
Using the textures with a Gaia spawner
You can of course spawn these textures like any other texture with the Gaia spawner across the terrain. But how would you form actual paths with it? We provided a sample spawner setup that demonstrates paths being spawned on the terrain.
Limitations of the sample spawner:
- The sample spawner is mostly meant as a demonstration to get the principle across and to inspire you to set up your own texture spawner
- It will not produce paths that are logical on any terrain - you would need to make your own mask to make meaningful connections across your game world
- The sample spawner uses currently two textures, you would need to make sure that you do not exceed the texture limit of your terrain shader with the additional two textures (the default HDRP terrain shader is limited to 8 textures only)
You can find the sample path spawner in the directory "Gaia Sample Spawner". You can select it and add it to the scene with the "Add to Scene" button:
The spawner consists of 4 spawn rules which will do the following:
- Spawn a mud texture on the terrain
- Spawn a cobblestone texture on top of that
- Sink the path into the terrain a bit (via a Terrain Modifier Stamp Resource)
- Smoothen the path out a bit (via a Terrain Modifier Stamp Resource)
If you look at the mask setup for these rules, you will quickly notice how they were set up:
- All of the rules use an image mask to restrict the spawning to a certain (example) path pattern only.
- All of the rules use a slope mask to restrict the spawning to rather flat areas (can't have a path running up a steep wall)
- All of the rules use a height mask to prevent the paths from spawning underwater:
When you spawn this spawner (ideally after all your other texture spawners so the path is being drawn on top), you will see some paths on the terrain that are slightly sunken into the terrain:
If you adjust the other spawners of the biome to NOT spawn on top of the path (e.g. by ruling out the cobblestone texture for spawning in the biome controller) you can spawn in the rest of the content with the paths remaining free.
(Make sure to not re-spawn your textures again to not override your path in the process). With the rest of the biome avoiding the path, it becomes a nice walkway for your player to explore the terrain:
The generic sample path image mask that comes with the pack is good for the demonstration, but for creating meaningful masks you would need to create your own mask map.
The path mask image is a simple black and white image stored in 16 b it color depth. You can create such an image in any image editing program such as Photoshop or GIMP.
To have some sort of a reference while you are drawing the paths on your image, you can take an overhead screenshot of your terrain. A convenient way to do this is via the Session Manager, it has a button to generate the preview image of your terrain:
You can use the resulting image in your image editing program as a reference to draw your paths on a secondary layer:
You can import the path image that you created this way back in unity, and when used as an image mask, the paths should line up on the terrain correctly. When using the sample path spawner from the pack you would need to exchange the image in all 4 rules and you would potentially need to adjust the height and slope masks to fit your terrain best.
-
 3
3


Recommended Comments
There are no comments to display.